
After years of buying refrigeration equipment for supermarket groups in Europe, North America and Southeast Asia, I no longer judge a cabinet by its badge, showroom lighting or the first page of the brochure. I judge it by the steel, the foam, the refrigeration circuit, the service documents and the delivered cost at the store door.
A supermarket refrigeration programme can include wall-mounted chillers, meat displays, fish freezers, frozen islands and compact grab-and-go cabinets. The purchase order may look straightforward, but small differences in panel thickness, gasket quality, compressor selection and packing can affect energy use and maintenance for years.
This guide is written for supermarket investors and EPC contractors who need to compare European brands, local dealers and Chinese source factories on the same technical basis. createrefrigeration is one example of an export-oriented manufacturer that can combine OEM cabinet production with international compressor, controller and electrical-component options. The buyer’s job is still to verify what is actually installed, not what appears in a sales presentation.
Looking Past the Badge Markup
Many store owners begin by searching for supermarket refrigerator freezer italian brands because the styling is familiar and the front-of-house finish is attractive. That can be a reasonable starting point, but the badge does not automatically explain a 16-week lead time or a 50% local-dealer premium. The quotation may include distribution margin, showroom overhead, regional warehousing, installation coordination and a long spare-parts chain.
In several procurement reviews, the visible cabinet design was not the main cost difference. The same basic layout used a black frameless appearance, Low-E glass, LED lighting, adjustable shelves and a remote or integrated condensing arrangement. The important questions were hidden behind the skin: steel gauge, insulation density, compressor model, controller brand, evaporator construction, drain-water handling and warranty response.
A mature source factory can offer a comparable minimal industrial appearance while adapting cabinet width, door layout, shelf loading, voltage and packaging for the project. CREATE Refrigerator positions its OEM work around that practical middle ground: international component choices, SUS 304 food-contact options and factory control over the cabinet rather than a generic trading-company catalogue.
The comparison should be made on a delivered basis. Add the cabinet price, export packing, inland haulage, ocean freight, insurance, customs duty, destination handling, unloading, local installation, commissioning, spare parts and the cost of carrying stock during a long lead time. A lower ex-works price is not necessarily lower after DDP delivery to the store.
For a preliminary factory review, component list and project quotation, buyers can contact www.createrefrigeration.com. Ask for a configuration sheet with every material and component identified. “High quality” is not a specification.
Four Hardware Checkpoints Before Signing a PO
1. Check the cabinet skin, foam and thermal envelope
Start with the panels. Ask for the steel type, thickness, coating and protected areas. A thin outer skin can look perfectly straight when new but dent easily during container handling and daily trolley contact. On a sample cabinet, tap several points on the side, rear and base panels with your knuckles. You are listening for consistency, not trying to perform a laboratory test. A hollow or sharply changing sound may indicate a void, uneven filling or a panel transition that deserves further inspection.
The insulation should be identified in the technical file. For cyclopentane polyurethane foam, a practical target often used in commercial cabinet construction is around 40–42 kg/m³, subject to the cabinet design and applicable standard. Ask for the foam density record, foaming process information and sample inspection results. Do not accept a density number without knowing whether it refers to the core, a laboratory coupon or a general production average.
Check corners, door posts and penetrations. These are the places where poor foaming or thermal bridging often shows up first. Measure the panel thickness where possible and compare it with the approved drawing. A cabinet can have a thick-looking base and still lose performance through a poorly insulated door frame or a badly sealed service opening.
2. Read the compressor and controller nameplates
Open the machinery compartment and photograph the actual nameplate. Confirm the compressor model, refrigerant, voltage, frequency, rated input and operating range. Depending on the duty and market, buyers may specify recognised commercial compressor families such as Embraco, Secop or Bitzer, but the exact model must match the cabinet’s evaporating temperature, ambient condition and refrigerant.
Do not approve a substitution because the replacement has a similar horsepower number. A compressor’s starting current, displacement, lubrication, refrigerant compatibility and operating envelope all matter. The correct match is shown in the refrigeration calculation and commissioning record, not in a verbal promise that the motor is “strong enough.”
The controller deserves the same inspection. Check the installed brand and model, not only the software screenshot. Carel and Dixell are common reference points in commercial refrigeration, but the key issue is whether the controller, sensors, fan control, defrost logic and alarm output are correctly programmed for the cabinet duty.
Ask to see the sensor location. A sensor hidden beside the coldest return path can make the controller stop while the customer-facing product zone remains warm. A sensor too close to a heater or door frame can create the opposite problem. Record the controller parameters before shipment so the commissioning team has a baseline.
3. Inspect the evaporator and condensate arrangement
Ask how the evaporator is built. Review copper tube diameter, tube wall thickness, circuit layout, brazed joints and the type of hydrophilic aluminium fins. The fin coating should support drainage and reduce water retention during defrost. A clean sample unit makes inspection easier; if the coil is buried behind an inaccessible panel, request photographs and a drawing showing how it can be serviced.
Look at the bottom drain pan and self-evaporation system. The pan should be properly formed, protected against corrosion and accessible for cleaning. Confirm the heater or hot-gas arrangement, water capacity, overflow protection and the ambient condition under which self-evaporation is expected to work. If the store has no floor drain, this detail is not minor. A poor pan design can turn a “plug-and-play” cabinet into a wet-floor complaint.
Inspect the drain route for sharp bends, trapped water and food-residue collection points. The commissioning checklist should include a water-pour test, not only a power-on test. For open cases, also verify that the condensate does not freeze when the cabinet is operated at the intended setpoint.
4. Test the front, shelves and impact protection
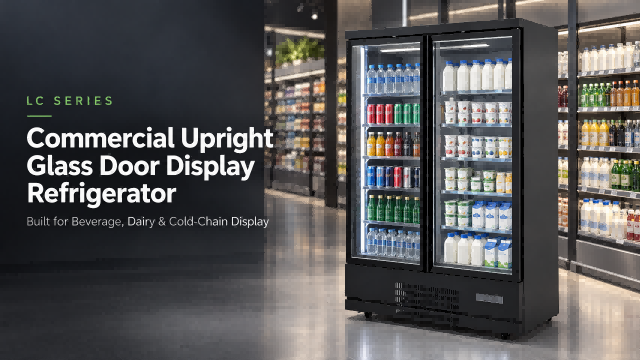
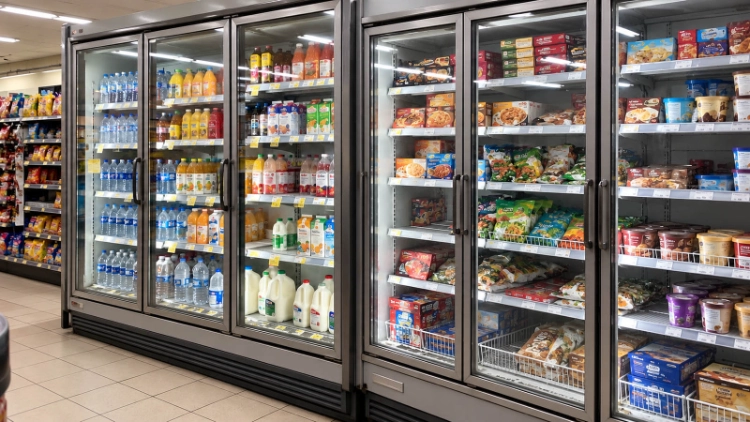
For a high-spec supermarket display cabinet or supermarket vertical showcase fridge, start with the glass and gasket. Confirm whether the glass is double- or triple-glazed Low-E tempered glass and whether the anti-condensation heater is built into the frame or door assembly. Close a sheet of paper in several locations around the gasket. It should hold with similar resistance around the perimeter. A loose corner will admit warm humid air continuously.
Open and close every door repeatedly. Listen for hinge strain, check self-closing action and inspect the bottom sweep. A door that closes only when pushed is not acceptable for a busy store. The gasket should be replaceable without damaging the frame, and the supplier should list it as a spare part.
Next, load the shelves with the weight specified in the purchase order. Heavy drink cases expose weak shelf clips quickly. Check for deflection, movement at the front lip and failure of the rear supports. If the cabinet will handle cartons rather than light plastic packs, test with the real carton dimensions.
Specify an aluminum alloy bumper strip where trolleys, baskets or delivery crates can hit the cabinet. Check the alloy thickness, attachment method, corner treatment and replacement process. A bumper that becomes a dirt pocket or pulls away from the panel after one impact is not a useful protection detail.
Specifying by Perishable Category
Equipment should be configured around the product, not selected from a photograph because the exterior looks familiar. Different categories impose different requirements for airflow, materials, shelf depth, drainage and access.
Open produce and chilled grab-and-go
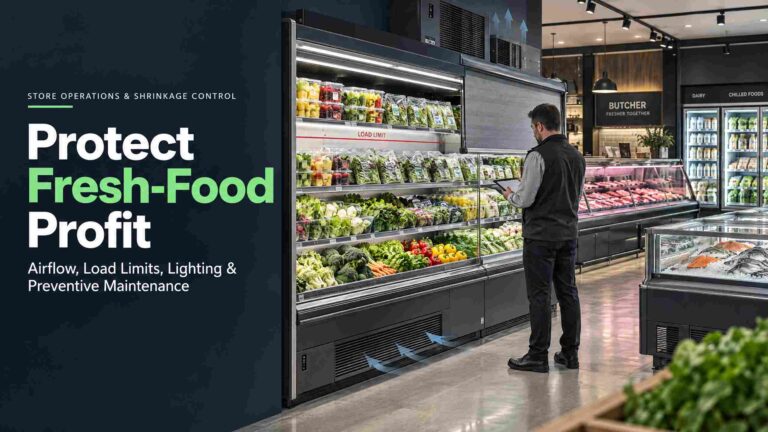
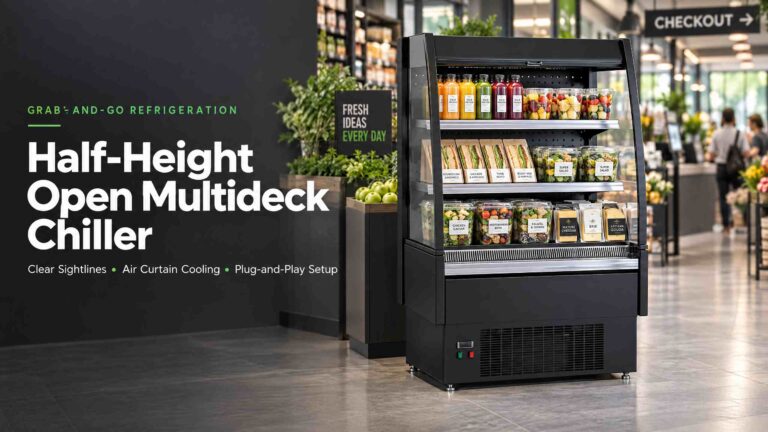
A case used to displays fruits and vegetables in supermarket operation needs controlled airflow and sensible moisture management. The supermarket open refrigerator should have a stable air path, a honeycomb or flow-straightening outlet where specified, and a slow-retracting night blind for non-trading hours. The blind reduces overnight cold-air loss, but it must not obstruct the return grille when raised.
Ask the factory to demonstrate loading limits with actual fruit trays, salad bowls and berry packs. Do not place lightweight packaging directly in a high-velocity discharge zone. Confirm the shelf angle, product depth and the position of the supply and return air. A display that looks full in a photograph may have poor air circulation when loaded for a weekend promotion.
Chilled meat and prepared protein
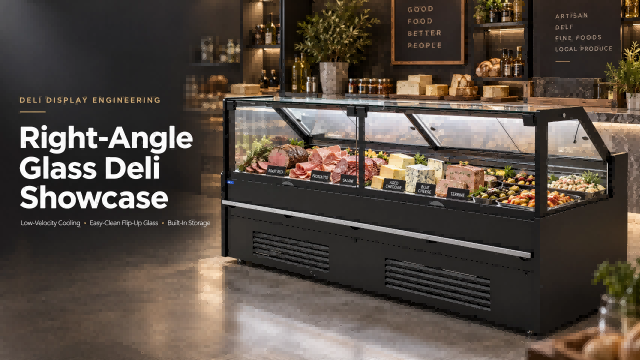
A supermarket meat display showcase refrigerator should be built around cleaning frequency, colour presentation and product handling. Ask for equipped stainless steel plates or a food-grade SUS 304 base where meat juices, salt and marinades may remain during the trading period. Confirm weld quality, corner radii, drain access and the cleaning method recommended by the manufacturer.
A flip-up front glass can reduce cleaning labour substantially. It gives the operator access to the lower deck and front corners, where grease and meat juices collect. Check the hydraulic support, hinge rating, safe open angle and glass retention before placing a repeat-store order.
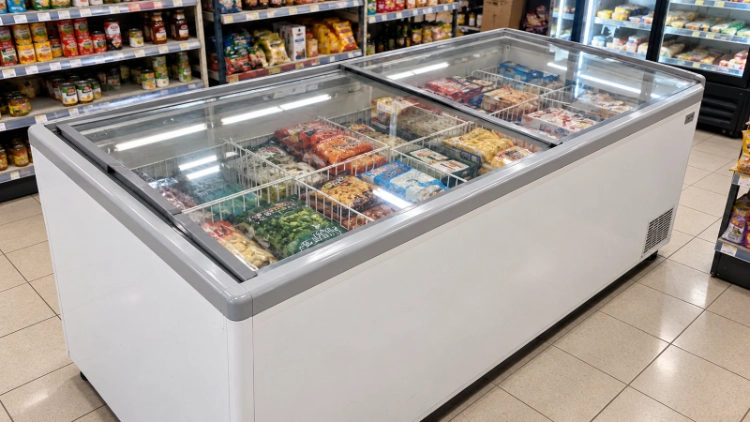
The supermarket meat freezer has a different duty from the chilled meat case. Confirm its temperature class, defrost method, door or lid design, carton loading and compressor model. A freezer that is opened frequently needs a realistic recovery test with the actual frozen product load.
Fish and wet-service applications
A dedicated supermarket freezer for fish must be audited for salt, water and cleaning exposure. Specify SUS 304 equipped stainless steel plates for the base and other food-contact areas where appropriate. Check whether the drain and pan can be cleaned without removing a fixed trim panel. Ask how the finish responds to the store’s detergent and sanitising routine.
Review the internal corners, front access and service route. Fish departments often need faster cleaning and more frequent tray changes than dry frozen-food zones. A beautiful glass front does not compensate for a drain that cannot be reached at the end of a long shift.
Large frozen islands and local electrical conditions
A commercial supermarket island needs a clear decision on customer access, condenser location, defrost water and service clearance. The supermarket frozen food display freezer should be selected with the local climate and electrical supply in mind. Confirm whether the project requires 110V or 220V, and 50Hz or 60Hz. Verify phase, plug type, protective device, starting current and the approved controller settings.
Do not rely on a voltage label alone. Ask for the wiring diagram, rated current, defrost load and recommended breaker. A store may have the right nominal voltage but insufficient circuit capacity for several freezers starting or defrosting at the same time.
Factory Audit: What to Request Before Production
A serious factory should provide more than product photographs. Request a live or recorded factory video showing sheet-metal fabrication, foaming, brazing, leak testing, electrical assembly, final cleaning and packing. Ask for serial-number photographs of the compressor, controller and main electrical parts on the actual batch.
Request drawings with panel thickness, insulation specification, glass build-up, shelf load, cabinet dimensions, refrigeration duty, electrical rating and service clearances. The bill of materials should identify the compressor, controller, fan motors, heaters, sensors, gaskets, glass, stainless steel and fasteners.
For SUS 304, ask for the material grade documentation and a practical corrosion check on a finished sample or offcut. A magnet test alone is not a reliable proof of stainless grade. Review the mill certificate, surface finish, weld quality and the factory’s incoming-material controls. Pay attention to the underside and hidden edges, not only the polished front panel.
CREATE Refrigerator combines OEM cabinet work with international commercial refrigeration components and configurable SUS 304 food-contact construction. That does not remove the need for inspection. It gives the buyer a clearer manufacturing route to audit: approved drawing, sample cabinet, production records, serial-number evidence and pre-shipment testing.
Factory-Direct vs. Local Dealer Benchmark
Use one cost model for every supplier. A local dealer quote may include unloading and installation but exclude spare parts or a future cabinet extension. A factory quote may show a lower unit price but require the buyer to budget freight, insurance, destination delivery and commissioning.
| Procurement checkpoint | Factory-direct audit question | Local-dealer comparison | Cost or risk to include |
| Cabinet and material | Are steel, foam density, glass and SUS 304 scope documented? | Is the same material evidence available? | Rework, dents, corrosion and thermal loss |
| Refrigeration package | Do nameplates match the approved compressor, controller and refrigerant? | Are substitutions and service brands stated? | Energy use, spare parts and downtime |
| Delivery basis | Is packing, freight, customs and DDP-to-door scope written clearly? | What is included beyond the warehouse price? | Inland haulage, duties, unloading and storage |
| Commissioning and warranty | Are water, temperature, leak, load and electrical tests recorded? | Who attends the site and how quickly? | Start-up failure, labour and warranty travel cost |
The correct calculation is the landed, commissioned cost per usable display metre—not the catalogue price per cabinet. Include the usable volume, shelf load, expected energy demand, cleaning labour and replacement-part lead time. A cabinet that costs less but loses product or takes twice as long to service is not a saving.
Final Advice from a Procurement Desk
When visiting a factory, take a flashlight, tape measure, phone camera and the approved drawing. Tap the panels. Read the compressor plate. Photograph the controller. Check the foam record. Inspect the evaporator fins and drain pan. Pull on the gasket. Load the shelf. Lift the front glass. Ask to see the exact spare-part list for the batch you are buying.
Then price the shipment to the actual store, including DDP delivery, unloading and commissioning. Do not let an attractive ex-works figure hide a large destination cost or a long wait for one replacement fan motor.
For a complete OEM configuration, factory inspection video, spare-parts list and one-stop ocean DDP quotation, contact createrefrigeration through www.createrefrigeration.com. CREATE Refrigerator can be evaluated on the same terms as any European or Italian supplier: by materials, components, test records, delivered cost and what the equipment does after the store opens.