
Commercial Refrigeration Field Case Studies
Case Study 1: Evaporator Coil Icing, Failed Defrost, and a Freezer Aisle Temperature Rise
The Emergency Call
The call came at 10:20 on a hot Saturday morning. A medium-sized fresh-food supermarket had a serious temperature problem in its frozen-food aisle. A row of vertical freezers and island units had drifted from -18°C to -5°C in less than three hours. Ice cream tubs were losing their shape. Frozen meat cartons were soft at the corners.
The compressor never stopped.
That detail mattered. The store manager had already replaced two temperature probes and suspected a refrigerant shortage. The condensing unit was running at full load, suction pressure was unstable, and the evaporator fans could be heard trying to move air. Product temperature continued to climb.
This was not a simple “compressor failure” call. It was an airflow and defrost failure hidden behind a refrigeration cabinet back panel.
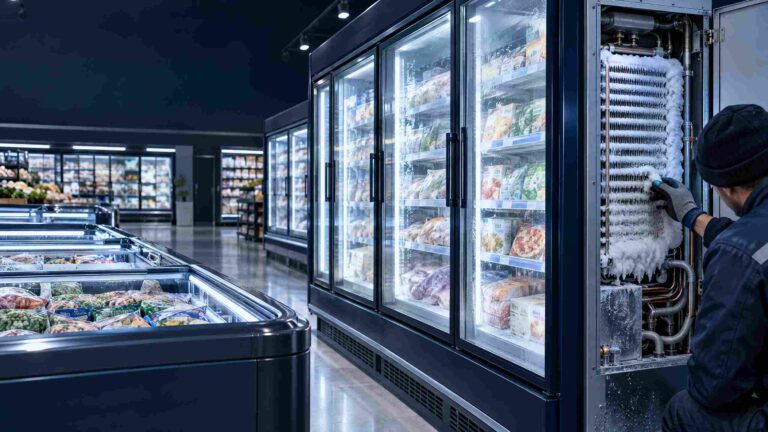
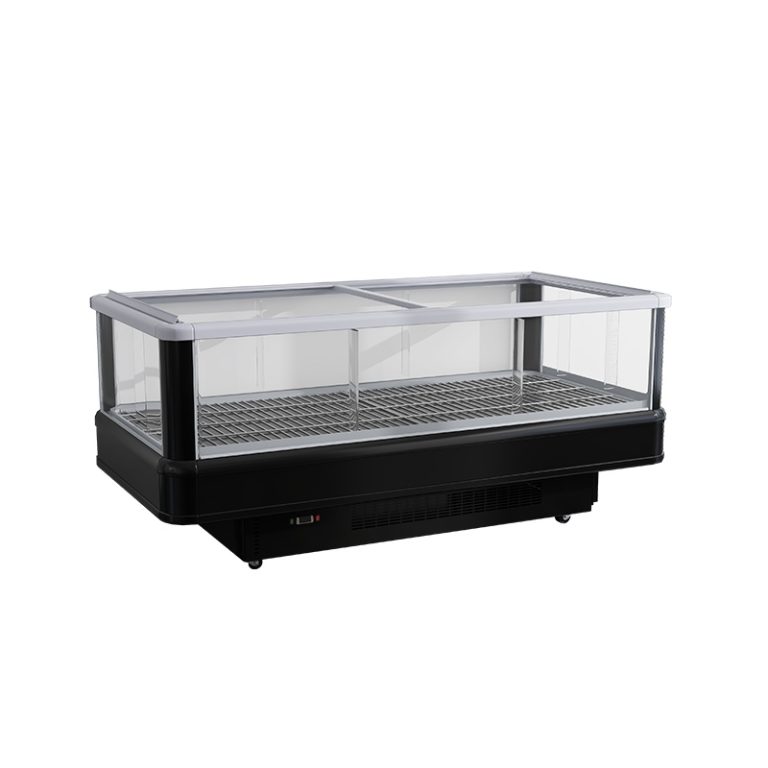
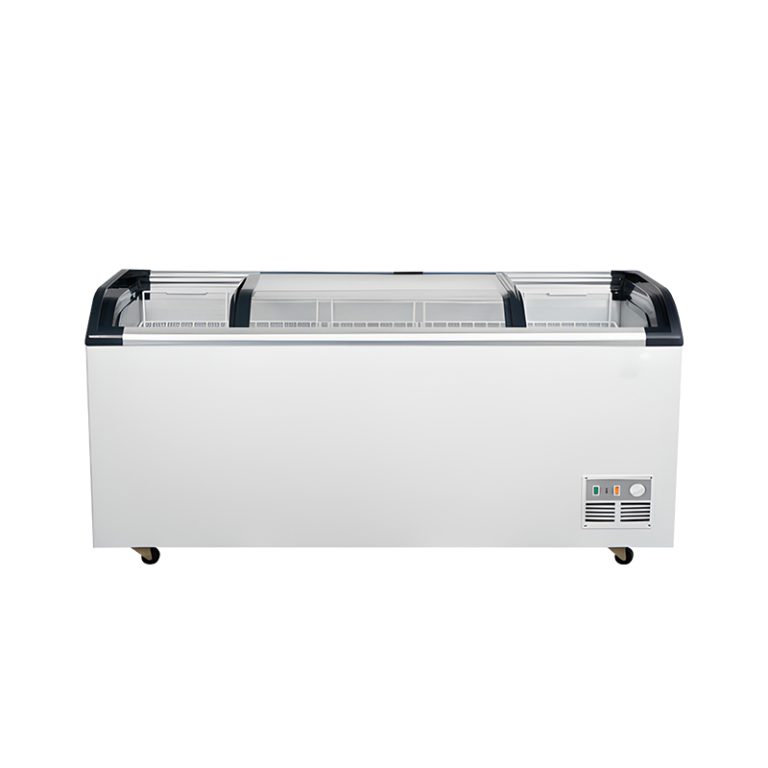
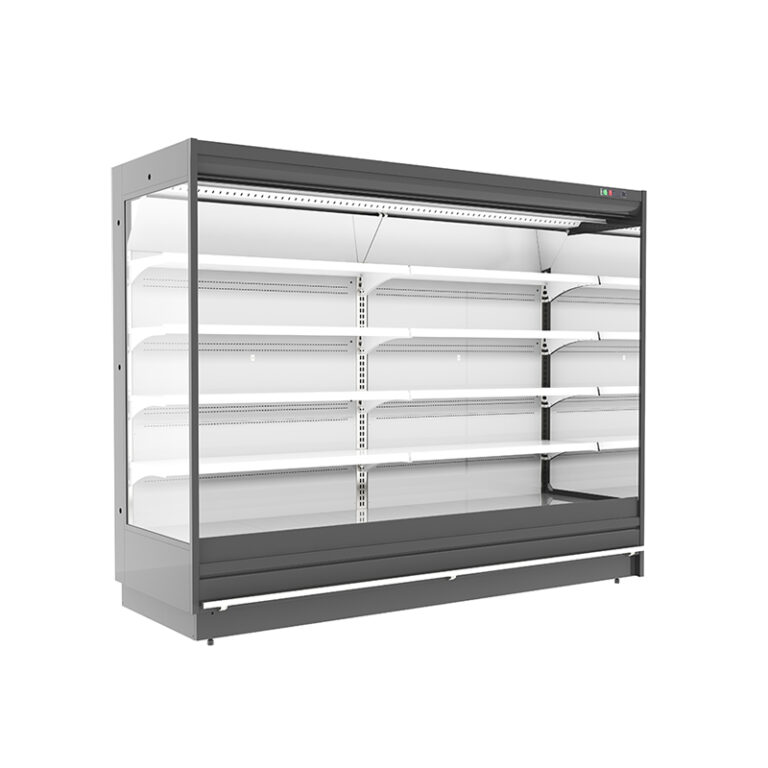
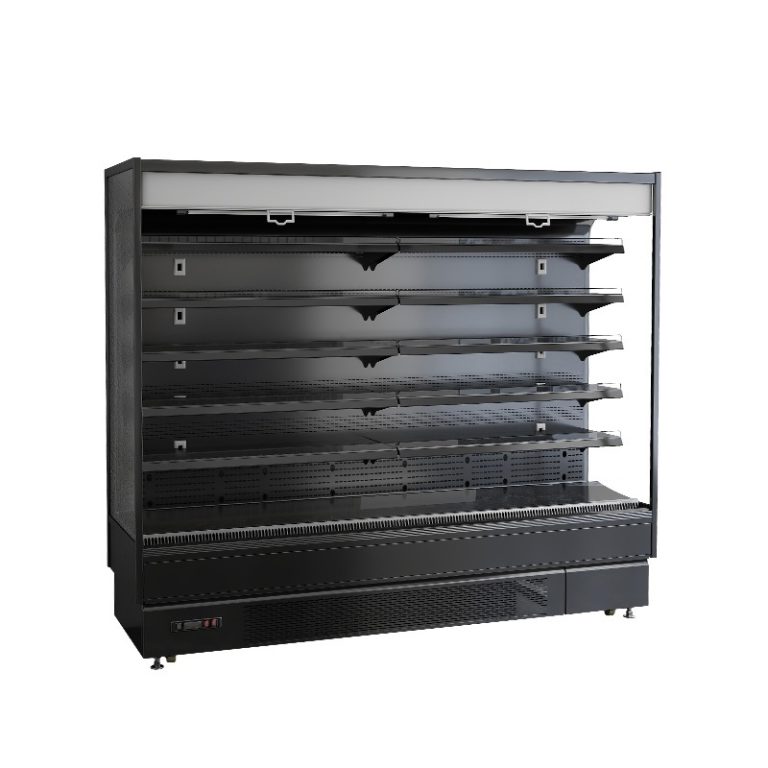
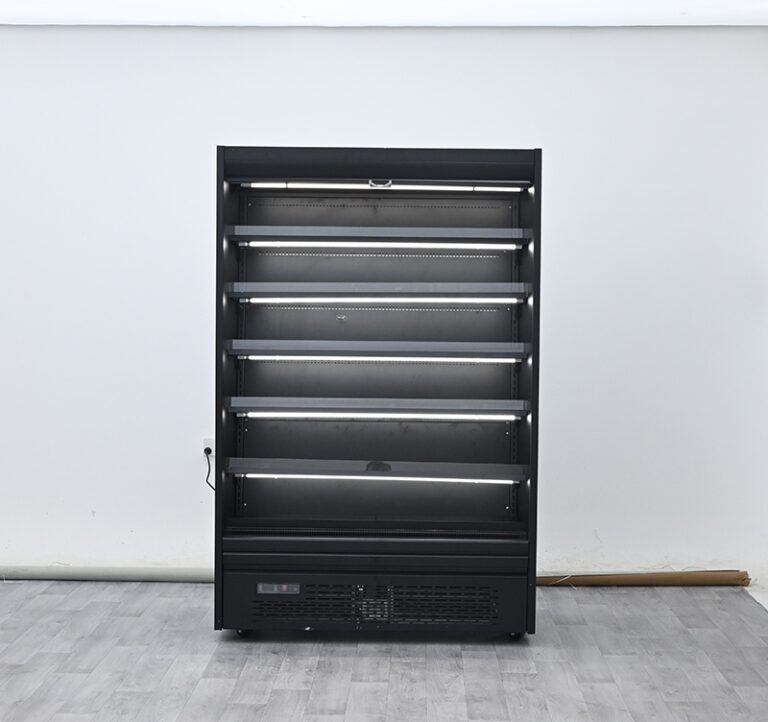
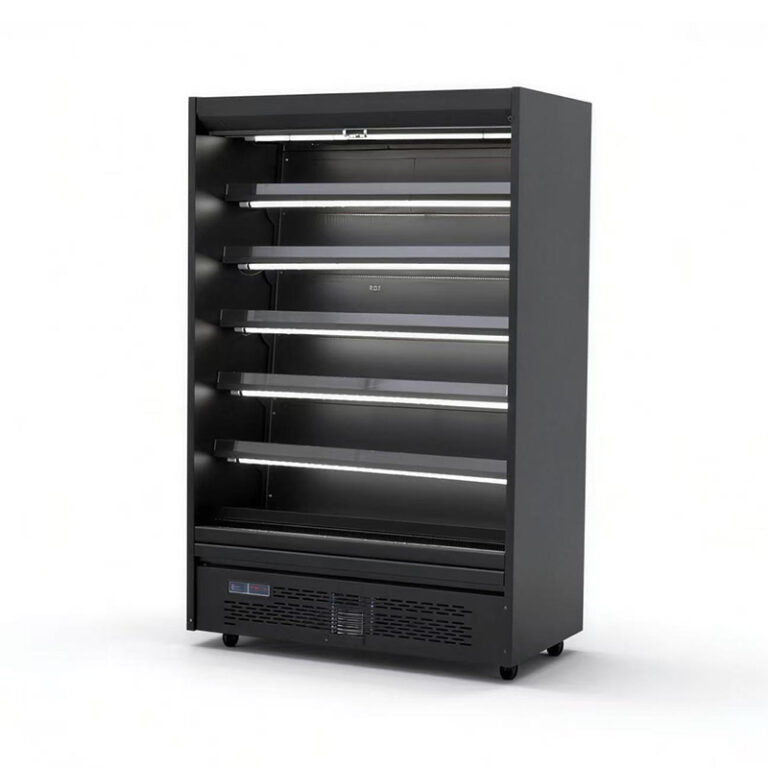
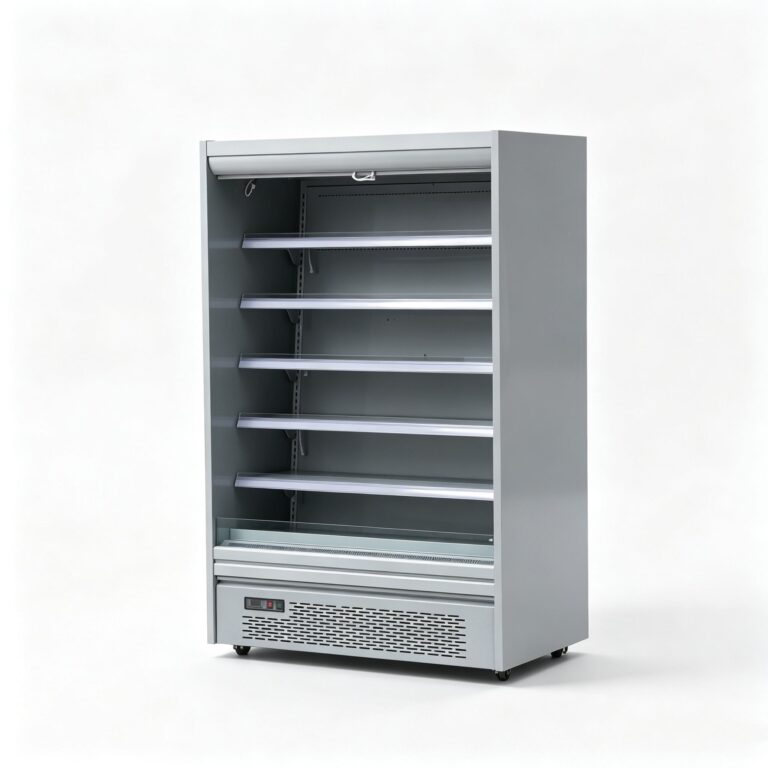
From the sales floor, the affected equipment looked like a typical fridge supermarket installation: a continuous line of upright cabinets beside a central run of frozen merchandise. The same inspection also covered an island freezer for supermarket use because its temperature was beginning to rise as well.
I have handled many cases where an operator sees a warm cabinet and immediately orders more refrigerant. That can make the situation worse. If the evaporator is sealed behind a solid ice block, adding refrigerant will not restore air circulation. The coil cannot absorb heat properly when the fan cannot push air through it.
Root Cause Diagnosis
We isolated the affected circuits, protected the frozen stock, and removed the lower grilles before opening the internal air path. The evaporator coil was not merely frosted. It was buried under a solid ice block on evaporator fins. Ice had filled the fin channels from the bottom upward. The return-air opening was almost closed.
The evaporator fan motor was electrically sound. The blade turned when powered, but the fan had no useful air volume to deliver. The compressor was working against a starved, poorly fed heat exchanger. That explains the long run time and the misleading impression of a weak compressor.
Three conditions had joined together.
1. High door traffic and humid air entry
The store was busy, and staff were loading product throughout the morning. Every door opening allowed warm, moisture-laden air into the cabinet. When that air reached the coil, moisture condensed and froze on the coldest fin surfaces. Frequent opening is manageable when the cabinet can remove the ice during the scheduled defrost. It becomes a problem when the defrost cycle is short, delayed, or interrupted.
2. Torn magnetic gaskets and poor door alignment
Several doors had torn magnetic gaskets along the lower hinge side. Two doors also sat slightly out of square. The gaps were small enough to escape a quick visual check, but large enough to draw humid store air into the cabinet all day. A strip of paper slipped easily through the seal at three locations.
The damaged seals were not a cosmetic issue. They were a continuous moisture load.
3. An unsuitable time-clock defrost schedule
The cabinets were controlled by an old fixed timer. Defrost was set for short periods based on a cooler, drier climate and a lightly loaded store. The schedule did not account for summer humidity, door traffic, or the actual ice load on the coil. The termination control was also unreliable. We found defrost termination sensor drift, which allowed one cycle to end too early and another to run without proper temperature feedback.
The installation included several equipment categories: a supermarket equipment freezer, a supermarket freezer commercial cabinet line, and a supermarket vertical freezer section. They shared similar operating conditions but had different airflow and defrost demands. One setting had been copied across the entire store without checking the cabinet design.
Field Fix and Hardware Upgrade
We used a controlled recovery sequence rather than attacking the ice with a screwdriver or open flame.
Step 1: Protect the product and isolate the circuit
Staff moved vulnerable ice cream and meat to a functioning freezer. We recorded product temperatures, cabinet temperatures, suction and discharge readings, and the condition of each door seal. Power was isolated before the fan shroud and coil guard were removed.
Step 2: Melt the ice safely
The coil was defrosted with warm water applied in controlled sections. We kept electrical connections, fan motors, and control boxes dry. No torch was used. Direct flame can damage drain pans, wiring insulation, plastic air guides, and the coil coating. It can also create a dangerous pressure rise in a trapped refrigeration circuit.
The ice came off in heavy slabs. Once the fin channels opened, we washed away loose debris and checked the coil for bent fins. A fin comb restored the restricted sections without flattening the aluminium.
Step 3: Clear the drain path and drain-pan heater
The drain outlet was partly blocked with ice and packaging dust. We cleared the drain tube, flushed it, and confirmed free flow into the condensate line. The drain-pan heating element was tested for resistance and inspected for a broken mounting clip. The drain pipe heater wire was resecured so meltwater would not refreeze at the outlet.
A blocked drain creates a second ice problem. Meltwater remains in the pan, freezes after defrost, and gradually builds a bridge back toward the coil.
Step 4: Check fans, sensors, and controls
We measured evaporator fan current, checked the blade clearance, and verified that the fan started after the cabinet control called for cooling. The cabinet-air probe was compared with a calibrated reference thermometer. The defrost termination sensor was replaced after failing a warm-water response test.
The replacement probe was mounted in the correct sensing position, not loosely attached to the frame. A sensor can read the wrong temperature if it is exposed to direct heater radiation or left outside the coil’s coldest area.
Step 5: Rebuild the defrost strategy
The old fixed schedule was changed to a demand-based sequence. The controller now watches compressor run time, evaporator temperature, door activity, and the rate at which the coil temperature changes. Defrost starts when the measured ice load indicates that airflow is being restricted, rather than simply because a clock has reached a preset hour.
The cabinet still retains a safety maximum interval and a high-temperature termination limit. Demand control is not permission to ignore inspection. It is a better way to match defrost energy and frequency to actual operating conditions.
Step 6: Replace the weak cabinet hardware
The damaged door seals were replaced, the hinges were aligned, and each door was checked for an even magnetic pull. The store also approved a hardware upgrade for the most heavily used cabinets.
The upgraded configuration specified by CREATE Refrigerator includes double-layer electrically heated anti-fog glass doors, high-sealing magnetic gaskets, improved door frames, protected drain heating, and a smart demand-defrost control package. These changes reduce humid-air entry and keep the viewing area clear while allowing the refrigeration system to spend its energy on product cooling instead of fighting avoidable frost.
For operators comparing a supermarket refrigerated display case, a supermarket cooler, or a supermarket fridge freezer, the point is straightforward: cabinet geometry, door sealing, heater placement, and defrost logic must be selected as one system. A good compressor cannot compensate for a poorly sealed cabinet.
The engineering team also reviewed the store’s loading pattern. The busiest cabinets were moved away from the warmest entrance route, and staff were instructed to close doors after replenishment instead of leaving them open during carton sorting. That operational change cost almost nothing and reduced the moisture load immediately.
After the repair, the evaporator outlet temperature stabilised, fan airflow returned across the entire coil face, and the compressor cycle shortened. Product temperature fell below -18°C overnight. The next morning, the coil showed an even, light frost pattern rather than a solid wall of ice.
Preventive Maintenance Checklist
| Fault symptom | Root cause | Emergency action | Factory-level preventive configuration |
| Cabinet rises from -18°C toward -5°C while compressor runs continuously | Evaporator coil blocked by ice; airflow collapsed | Protect stock, isolate circuit, perform controlled manual defrost, inspect fans | Demand defrost, correct sensor placement, high-airflow evaporator design |
| Frost returns within one or two days | High door traffic, torn magnetic gaskets, misaligned doors | Paper-strip seal test, replace gaskets, align hinges | High-sealing magnetic door gaskets and rigid door frames |
| Water freezes at the cabinet base after defrost | Drain tube restriction or failed drain-pan heater | Clear drain, flush condensate line, test heater resistance | Protected drain heating, sloped drain pan, accessible service connection |
| Glass fogs and ice forms on the coil edge | Humid-air infiltration or inadequate anti-fog heating | Check door closure, glass heater, and air leaks | Double-layer heated anti-fog glass and stable demand-defrost control |
Engineer’s Recommendation
Do not judge a freezer fault by compressor noise alone. Start with airflow, frost pattern, door sealing, drain condition, sensor position, and defrost history. Those six checks often reveal the real fault before anyone touches the refrigerant charge.
For cabinet selection, retrofit planning, and overseas store support, contact the manufacturer’s technical team. The team can help match a cabinet to climate, door traffic, product load, service access, and the store’s defrost requirements.
Case Study 2: Severe Glass Condensation and Floor Water During the Rainy Season
The Complaint from the Store
The second call came from a premium convenience supermarket during the third week of the rainy season. The store sold chilled drinks, dairy products, ready meals, and fresh desserts. Customers could see moisture on the glass doors from several metres away, but they could not see the products clearly through the fog.
Sales dropped first in the chilled dessert section. Then the store team reported water spreading from the bottom of two display cabinets into the customer walkway. Staff were mopping the floor every thirty minutes. One employee had placed cardboard under the cabinet, which soon became saturated and began to smell.
The cabinet temperature was not the only issue. Product temperature remained within range, but the display was failing as a selling tool and the floor was becoming a slip hazard.
The store manager described the units as standard supermarket equipment display cabinets. In practice, the installation was a mixed line: one glass-door chilled case, one open-front cabinet, and a compact unit used beside the checkout. The equipment had been supplied for a drier location and then installed in a coastal city with long periods of warm rain.
Site Inspection: What We Found
The first measurement was room humidity: 82% RH near the entrance and 76% RH in the centre of the store. The entrance doors opened frequently, and rainwater was being carried inside on carts and shoes. A warm air stream from the entrance crossed the front of the cabinets.
The glass heaters were working, but the heat was uneven. The lower corners of two panes stayed noticeably cooler than the centre. The magnetic seals had flattened over time, and the frames were not pulling tightly against the cabinet body. A narrow stream of humid air was entering along the hinge side.
That is how condensation starts. The inside face of the glass is cold, while the outside surface is exposed to air above its dew point. If the glass surface falls below that dew point, water appears. When the air is humid enough, the moisture forms quickly and continuously.
The lower cabinet problem had a separate mechanical cause. The drain pan was tilted slightly toward the front, and the condensate hose had a low section where water could stand. The drain-pan heater was present but had shifted away from the area where ice formed. During each defrost or normal condensate cycle, water collected faster than it could leave. It then overflowed beneath the front trim.
The store team had also been washing the floor with a large amount of water. Some of that water was entering the lower grille and adding to the condensate load.
Corrective Work on the Glass Doors
We began by isolating the affected circuits and checking the glass heater voltage under load. A continuity check by itself would not have been enough. The heater could show continuity and still have poor heat transfer because of a loose terminal, a damaged conductive strip, or uneven contact with the frame.
The work sequence was as follows:
- Dry and clean the glass frame. We removed old adhesive, dust, and mineral residue from the heater contact areas. A dirty frame can create cold bands where condensation starts.
- Repair the electrical connections. Loose terminals were tightened, damaged connectors were replaced, and heater current was measured at operating temperature.
- Replace the flattened gaskets. The new seals were installed without stretching them around the corners. Stretched gaskets shrink later and reopen the same leak.
- Align the doors. Hinge height and latch pressure were adjusted so the seal compressed evenly from top to bottom.
- Check the glass specification. The two worst doors had single-pane glass with limited edge heating. We recommended double-layer heated anti-fog glass for the replacement set.
A door can be cold and still appear clear when its heater is correctly distributed. The goal is not to make the glass hot. The goal is to keep its outside surface above the local dew point without creating a large electrical load or damaging the seal.
Corrective Work on the Water Leak
We removed the front grille and inspected the drain pan from end to end. The drain outlet was open, but the hose routing was wrong. Its low section held water after every cycle. We rerouted the hose with a continuous fall, secured it away from the fan and wiring, and flushed the line with clean water.
The drain-pan heater was repositioned beneath the coldest section of the pan. We checked its resistance, verified safe insulation, and confirmed that meltwater reached the drain before the pan could refreeze. The pan itself was re-levelled so water travelled toward the outlet rather than toward the customer side.
We also added a simple service check: after cleaning, the technician pours a measured amount of water into the pan and watches the full route to the condensate connection. The test must be performed with the grille fitted, because airflow and access panels can change how water moves.
Climate-Suitable Upgrade Plan
For this store, CREATE Refrigerator recommended a climate package rather than another isolated glass replacement. The package combined double-layer heated glass, high-compression magnetic door gaskets, improved frame drainage, a properly mounted drain-pan heater, a sloped pan, and a controller that records cabinet temperature, defrost completion, and door-open time.
The cabinet line was then reviewed as part of the wider restaurant supermarket equipment plan. Chilled ready meals, dairy, beverages, and desserts had different loading patterns. One common temperature and door setting had been used for all of them, even though the cabinet air movement and moisture load were different.
The operating changes were simple:
- Keep the highest-traffic chilled cases away from the direct path of the entrance air stream.
- Use an entrance mat system that removes rainwater before carts reach the refrigeration line.
- Do not hose the floor beneath a live cabinet. Use a damp mop and keep water away from grilles and electrical compartments.
- Record room humidity during the rainy season, not only cabinet temperature.
- Inspect the lower corners of glass doors every morning. Early condensation is easier to correct than standing water.
Within two hours of the repair, the glass cleared across the full viewing area. The lower corner remained dry during repeated door openings. After an overnight observation period, there was no water trail on the floor and no ice bridge at the drain outlet.
What the Store Learned
Condensation is often treated as a cleaning problem. It is usually a combination of dew-point conditions, glass temperature, door sealing, air movement, and heater distribution. Water under a cabinet is often treated as a drain blockage. It may instead involve pan slope, hose routing, heater position, floor-washing practice, or a cabinet installed in the wrong airflow zone.
A supermarket refrigerated display case should be selected for the site climate, not only for its internal volume. The same rule applies to a supermarket cooler placed beside an entrance and to any cabinet used in a humid coastal market.
Our final recommendation was to document the glass type, heater load, gasket profile, drain route, and defrost settings for every cabinet. That information gives the service team a proper baseline when the next rainy season begins.
For engineering review, equipment selection, and cabinet retrofit support, visit www.createrefrigeration.com. The manufacturer works with operators and procurement teams to specify display equipment around climate, traffic, product mix, maintenance access, and long-term operating cost.
Closing Field Note
Fogged glass hides products. Standing water creates a hazard. A freezer packed with ice loses airflow before it loses its compressor.
The right repair starts with the physical evidence: frost pattern, seal contact, drain fall, sensor response, heater current, room humidity, and operating history. Once those facts are recorded, the fix is usually much clearer than the first alarm on the controller.
For overseas supermarket operators planning a new line or modifying an existing one, CREATE Refrigerator provides cabinet engineering, hardware upgrades, and application guidance through its technical team and www.createrefrigeration.com.